

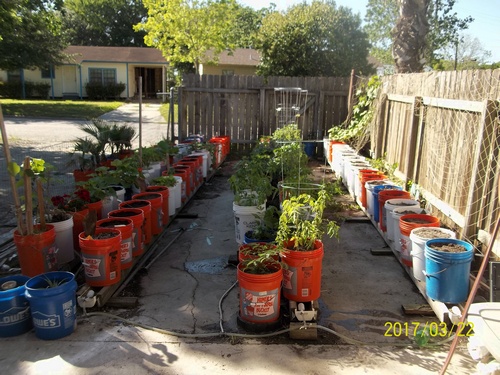
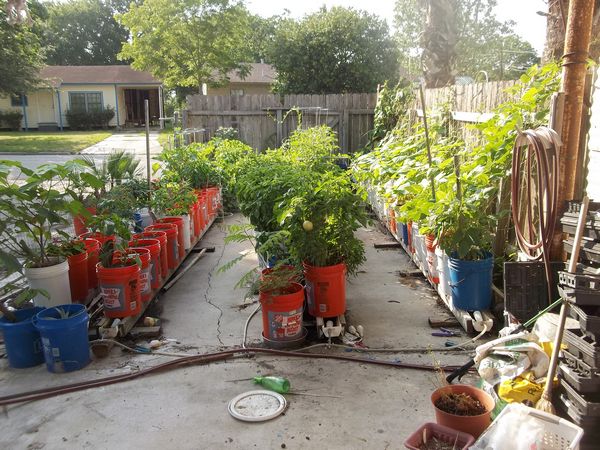
Container Garden Self-Watering System!
Credit for this container garden goes to Larry Hall from Minnesota and it is a great idea for those who like to container gardening!
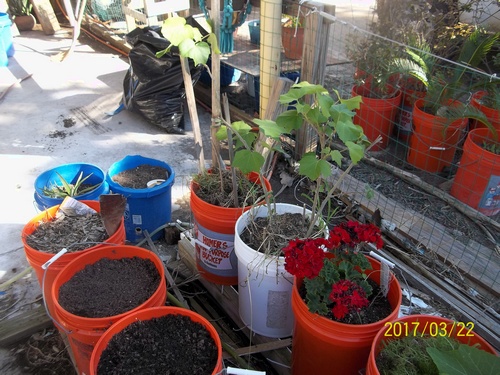
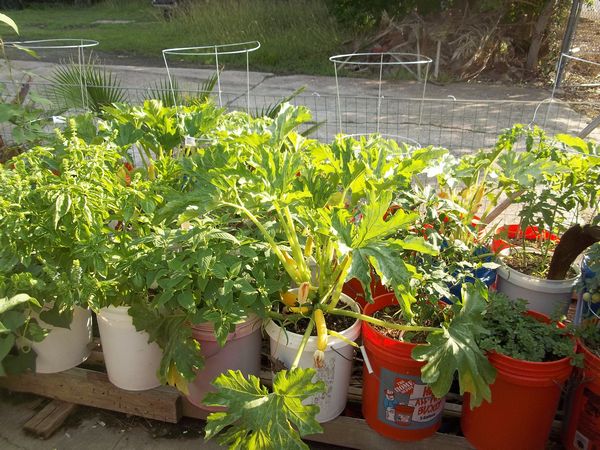
Container gardens are less time consuming for those who have limited space and time. We have had ours set up for 4 years and still are using the same potting mix. A word of caution here is to cut back on the peat moss as here in coastal Texas [where temps are in the upper 90’s and low 100’s in the summer] will result in extreme water usage!
The beauty of using this container garden growing system is weed control ease and the ability to move the troughs to make better use of the system and space. Like for tomatoes you can leave more space in your rows and for greens use them closer together!
Material needed:
- 2 x 4 treated in lengths to match your gutter length from Lowes or Home Depot
- PVC rain gutter from Lowes or Home Depot
- 2 end caps for rain gutter from Lowes or Home Depot
- Self tapping screws to install gutters to 2×4. There are some available with rubber grommets from Lowes or Home Depot
- Nails for joining braces to long 2×4’s from Lowes or Home Depot
- 5 gallon buckets from Home Depot or Lowes
- grow cups from Ebay
- automatic water level float from Ebay
- gutter splices to join gutters if going over stock length from Lowes or Home Depot
- Sealant for splices and end caps
Making the troughs:
- Figure the length of your system. Cut the 2×4’s at least 4″ shorter than your gutter!
- Measure the distance your gutter will need to have and add 3″ to this measurement. Make sure not to misshape your gutter material.
- Line up your 2×4’s [on edge = 4″ side up] and place an 18″ 2×4 or 1×4 blocks on top of your 2×4’s. Find the center of your block and from that center mark, deduct 1/2 of the width from step above. Mark this measurement with a line. Place marked block on 2×4’s at the end of your long 2×4’s. Line up the marks with the outside of the long 2×4’s. Fasten with 2 nails each end. This will stabilize your gutter system and keep it from tipping over. This will allow easy installation and maintenance of your end caps!
- Using blocks every 3 or 4 ‘ is ideal. This is also a good place to shim your system later on! Do not go wider than 12″ in case you want to place them closer in double rows!
- Using an electric drill and the self tapping screws, attach the gutter to the 2×4 runners. We drilled about 1″ from the top. IF you are using a splice do not drill closer than 3″ from the ends of the splice to allow a little movement when adding the splice part. When using a splice make sure to use a good sealant.
- Add your end caps. One will have a hole drilled in it to accommodate the auto water valve.
Your container garden trough is now complete!
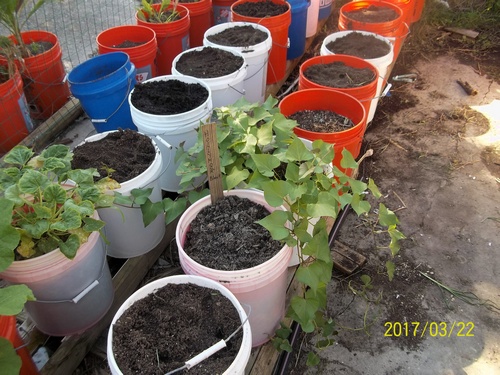
Making the buckets:
- Flip a 5 gallon bucket over on your work bench
- Using a hole saw, drill the hole for the grow cup.
- Drill 2 small 1/4″ holes about 1/2″ from your big hole about 180 degrees apart.
- Flip the bucket over and place in a grow cup. Using 2 plastic 6″ wire ties, fasten the grow plug into place.
Your buckets are now complete!
Setting up the wicking system:
- If you decide to use the alternative wicking system you will need strips of any cloth 2’x1″
- Place the end of the strip into the grow cup.
- Start adding your potting mix while keeping the strips of cloth in the center of the pot. Here you can decide to stop them or continue with them to the very top of the soil or not depending on your views on the subject. We ran some to the top to monitor the wicking action and stopped some around where the root ball would be and coiled the remained there.
- Fill to 2″ from the top of the bucket
Now your container garden buckets are ready!
Final installation:
- Place your finished troughs in the area you want to grow in.
- Fill the troughs with water and shim with wood or plastic until the level of the water is the same from end to end.
- Attach a small tubing to your valve and to your water reservoir. We added another float switch to a garden hose to keep the reservoir full but beware of the pressure on the small tubing to the faucet!
- Place buckets on the trough and pre water them if they are dry! If you do not do this there is a chance the buckets like any container full of a peat based mix, may reject water. This is where the wicking system is so good! It will wick and eventually moisten the whole bucket.
-
NOTE: If you are adding a wick to an existing bucket containing a growing plant and do not want to disturb it any more than needed...... Use a piece of 1" flat trim with a notch in it to accommodate the wick and press it firmly into the bucket at an angle starting at the top outer rim and proceed to the grow cup area. When you can feel or see the wood, pull quickly to dislodge the rag/wick and remove the wood [ a steel rod or anything will work. ]
And there it is! The beauty of a container garden and auto watering all in one easy self contained unit!
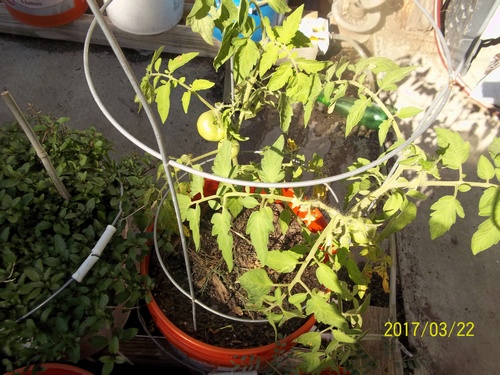
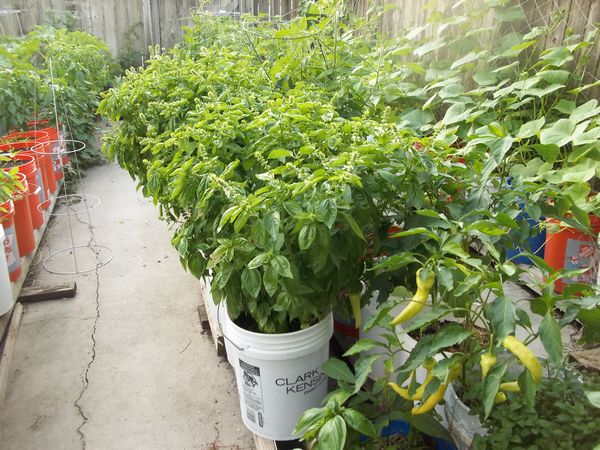
We did a few improvements for our area and went with 20' long troughs and also advise using a wicking system in the grow cups. This is really nothing more than strips of cloth running from the grow cup to the top of the bucket. Insert the strips in the grow cup and keep placed in the middle of the bucket as you add potting mix. It really helped on those hot days! [keep in mind we used way to much peat moss in our mix to start with ]
We grew 2 crops of tobacco in the same potting mix and numerous vegetables and the soil still looks like it will be good for a while longer. We did re-mix some buckets and added fresh compost to them but for all general appearance the crops looked the same whether we re-mixed or not!
Another quick note: Try to find the adjustable floats. Once your system gets a little age on it , they can become slightly warped or settle and the adjustable ones will allow you to change the level easier than having to re-level the entire length .
Auto watering reservoir:
No container garden is complete without a self watering system. We finally added a rain barrel system to the gutters! Final plan is to hook this up to an actual rain gutter to get some free water as well.
Materials:
- 4 35 gallon barrels
- PVC Pipe to fit bungs
- Fittings as shown in pictures
- Some good vinyl sealant
- * Small fittings and clear tubing for sight glass! We will install this later.
- Super large funnel to allow adding pre-mixed plant food at a later date
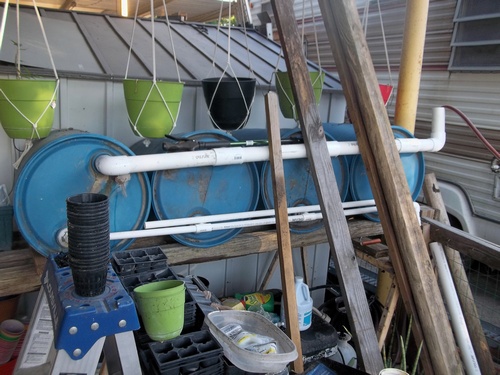
This is a really good setup for those without access to well water. You can also set up another series of standing barrels from which to pump into this delivery setup to further save money. A small marine pump would work well to transfer as the system needed replenished from the standing barrels..
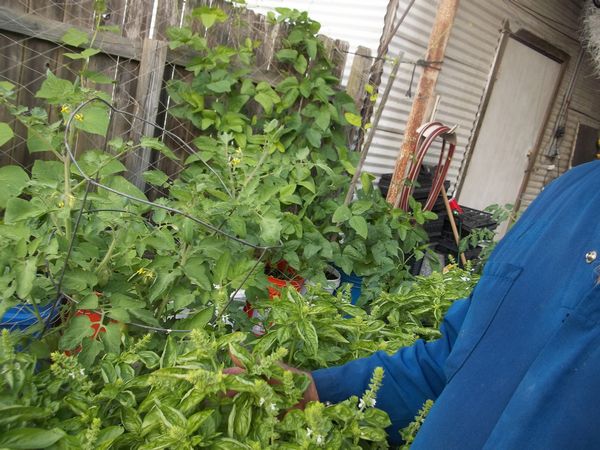
Mid May Update:
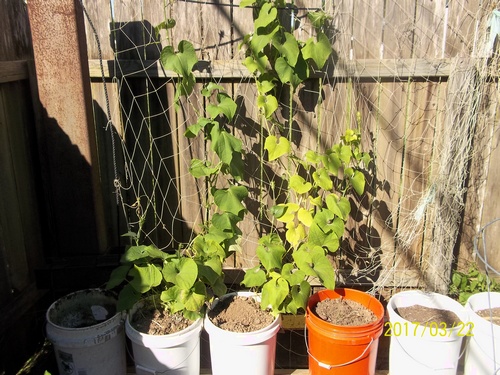
 Basil is growing everywhere from volunteer seeds 🙂 Cukes starting to climb as well as the yard long green beans


Pingback: DIY quail pen plan using pre-made shelving system ⋆ SS Prepper